
A month off, Day 1: Regrets and Printer Building
My current job grants sabbaticals to employees after a number of years of employment. I've been putting mine off for a couple of years, mostly due to the pandemic.
I had hoped to use the time off as an opportunity to do something I rarely get to do: personal travel. I've sometimes managed to attach a brief amount of personal travel time to otherwise professional travel, by moving hotels and delaying my return flight. Business travel became much more rare the last few years as remote work supplanted the need for people to be on-site for nearly any reason. With an entire month off, however, I felt I had the opportunity to do something I hadn't done in nearly a decade.
Sadly, the pandemic, rising fascism, and more mundane details like "who would take care of the cat" made all those plans for travel fall through.
So here I am, on The Ultimate Stay-cation. What should we do with it?

It's not like I don't have projects I could work on. My house is littered with multiple projects I keep saying I'd get to "someday", but never seem to actually get to. Since I'm not going anywhere, now would be a good time to stop, and actually work on them. And the project I worked on the most as of late is the Voron 0.1.
For some reason, I've avoided putting the belts on this printer. I felt that somehow, they created some line between a bunch of junk I cobbled together, to something more approaching a real printer. Something crossing that threshold always makes me a bit nervous, even if I'm doing it entirely in software. It's only less imposing in software due to sheer exposure. Physical things, however, can't be so easily or cheaply corrected when broken. So I start to worry about catastrophic failures.
The Voron 0.1 is already showing cracks in a number of the printed parts I've made. None of them seem bad enough to replace entire parts or even cause them to fail, but it is concerning. Perhaps this happens all the time and it's only due to the translucent ABS I'm using that they're visible. Either way, the project had to continue, so I had to get those belts on.
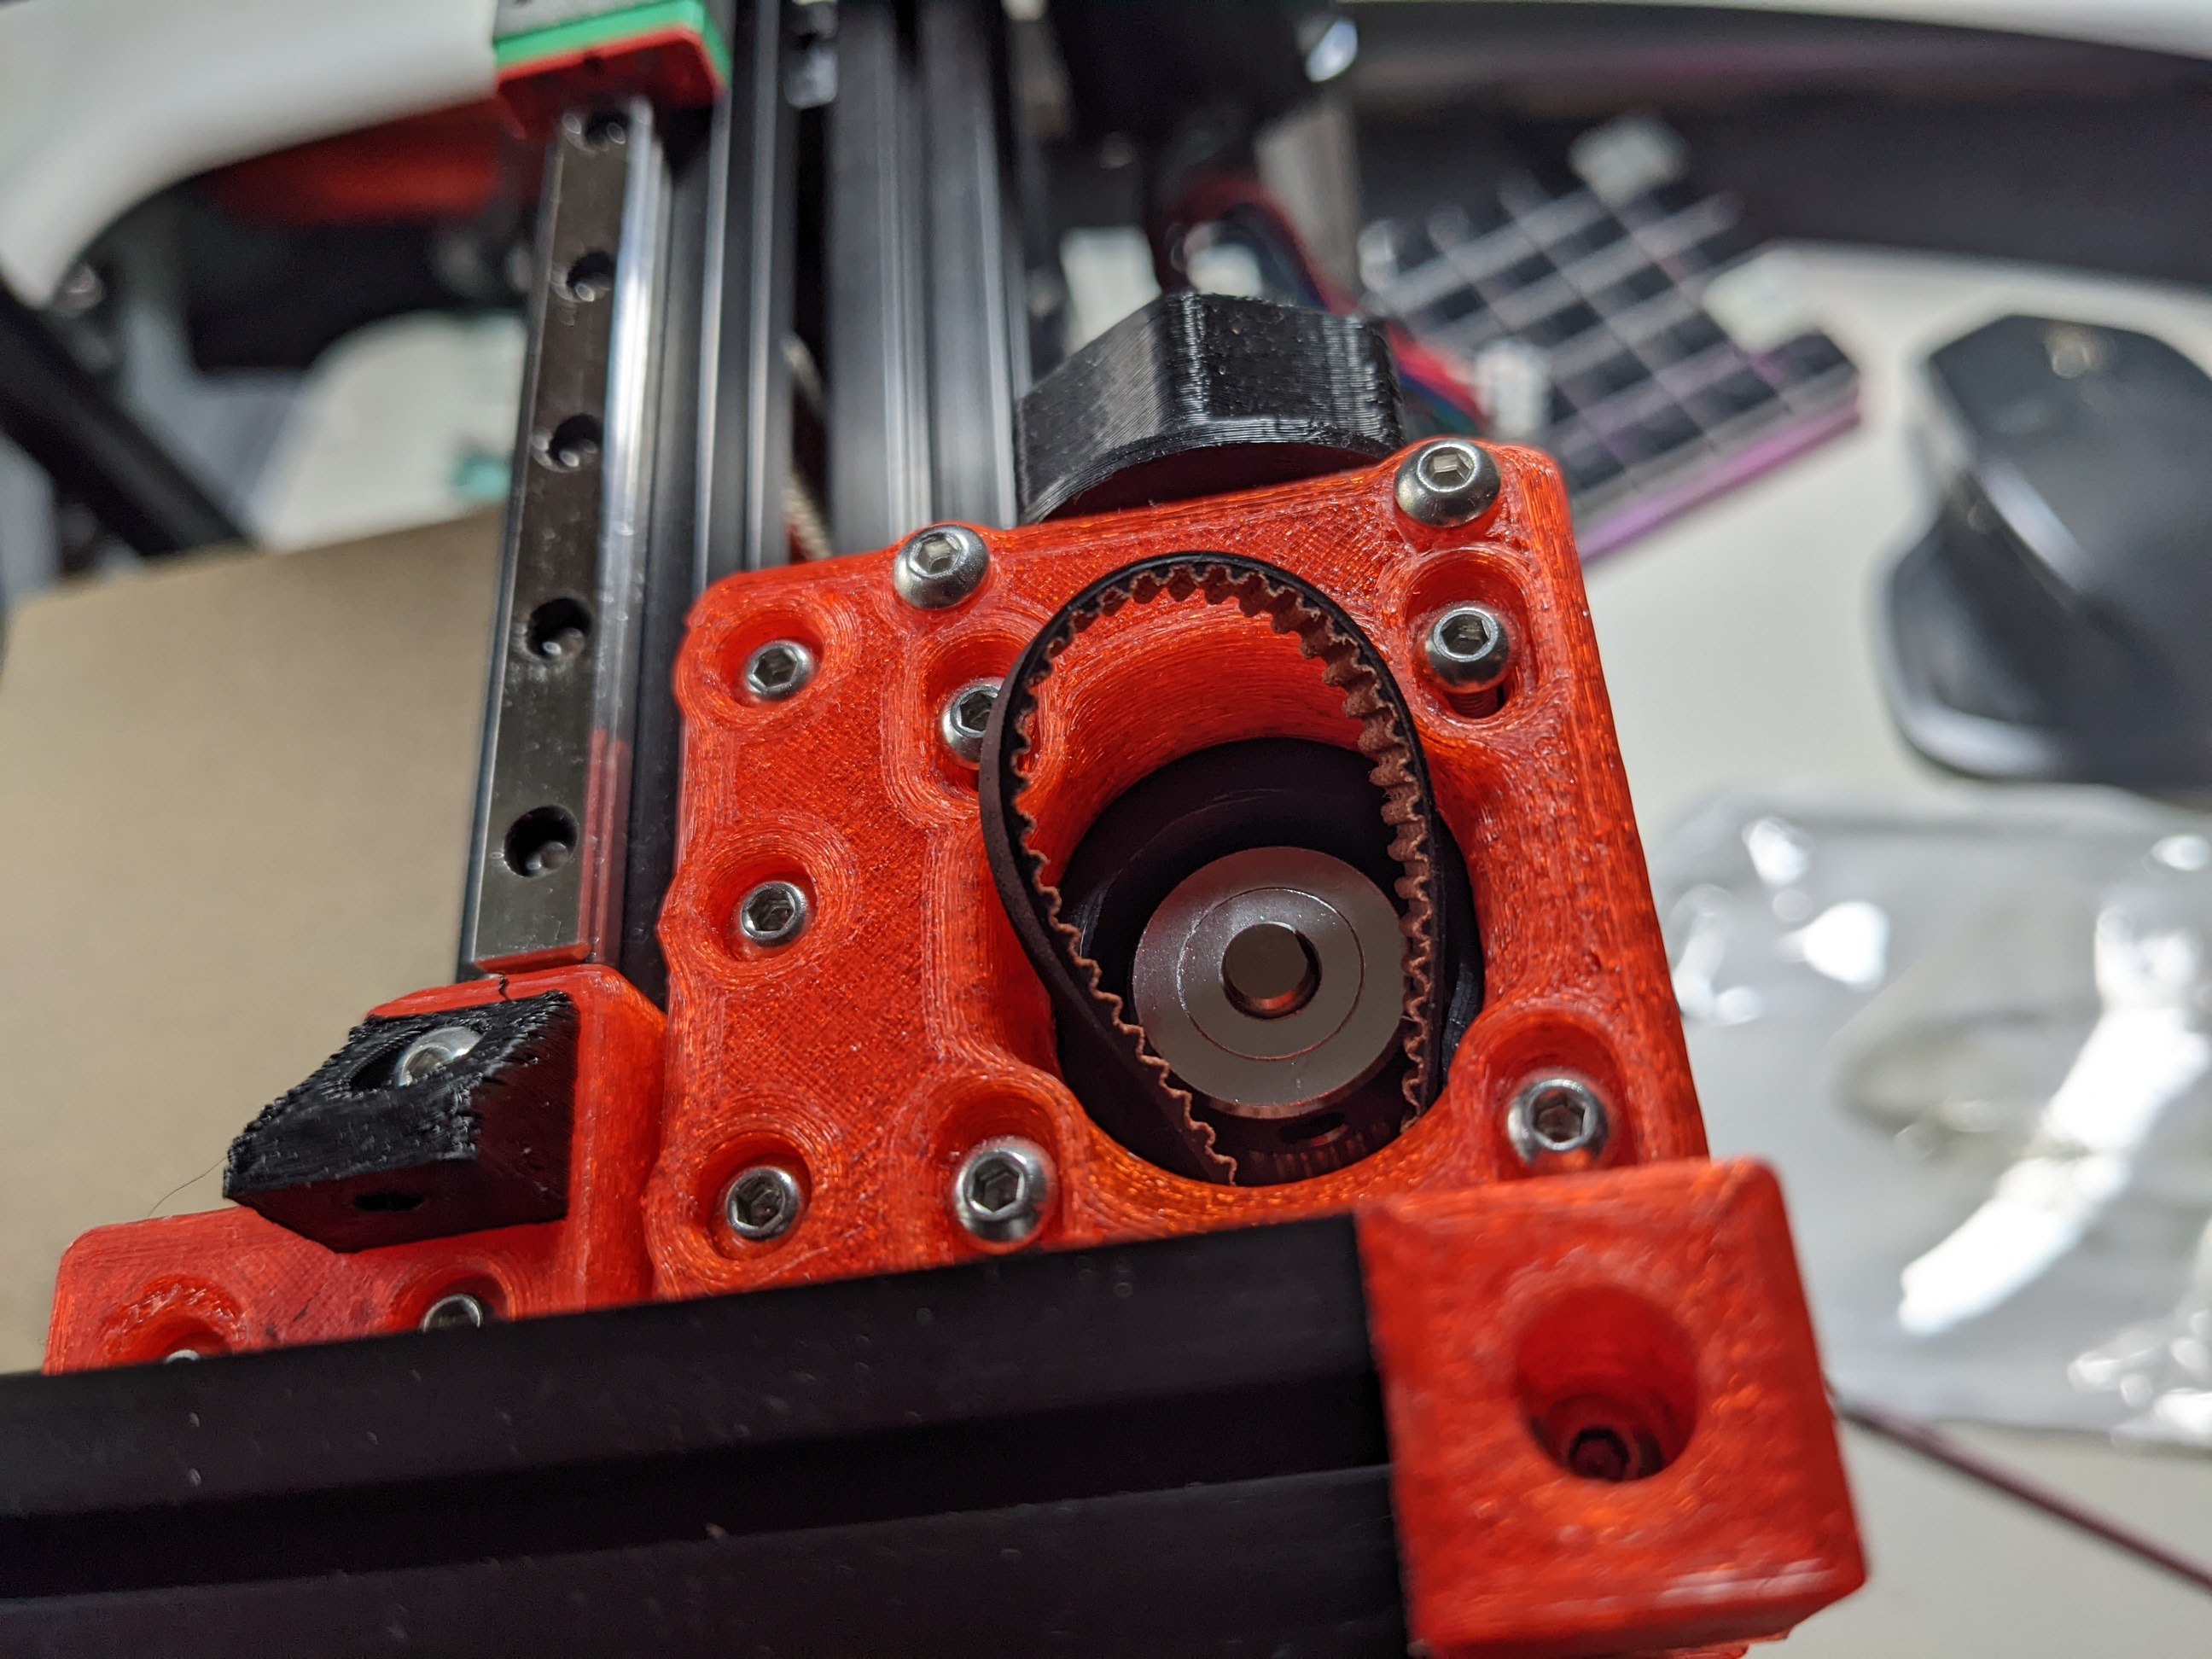
The assembly manual makes the belt routing fairly clear once you have the half-assembled printer in front of you. There were only a few tricky parts. Looping the belt through the motor drive gears and the 90 degree turn in the gantry was difficult to route. I found that if I loop the belt above the target point, and then nudge it into place with the ball end of an hex key, the routing went much easier.

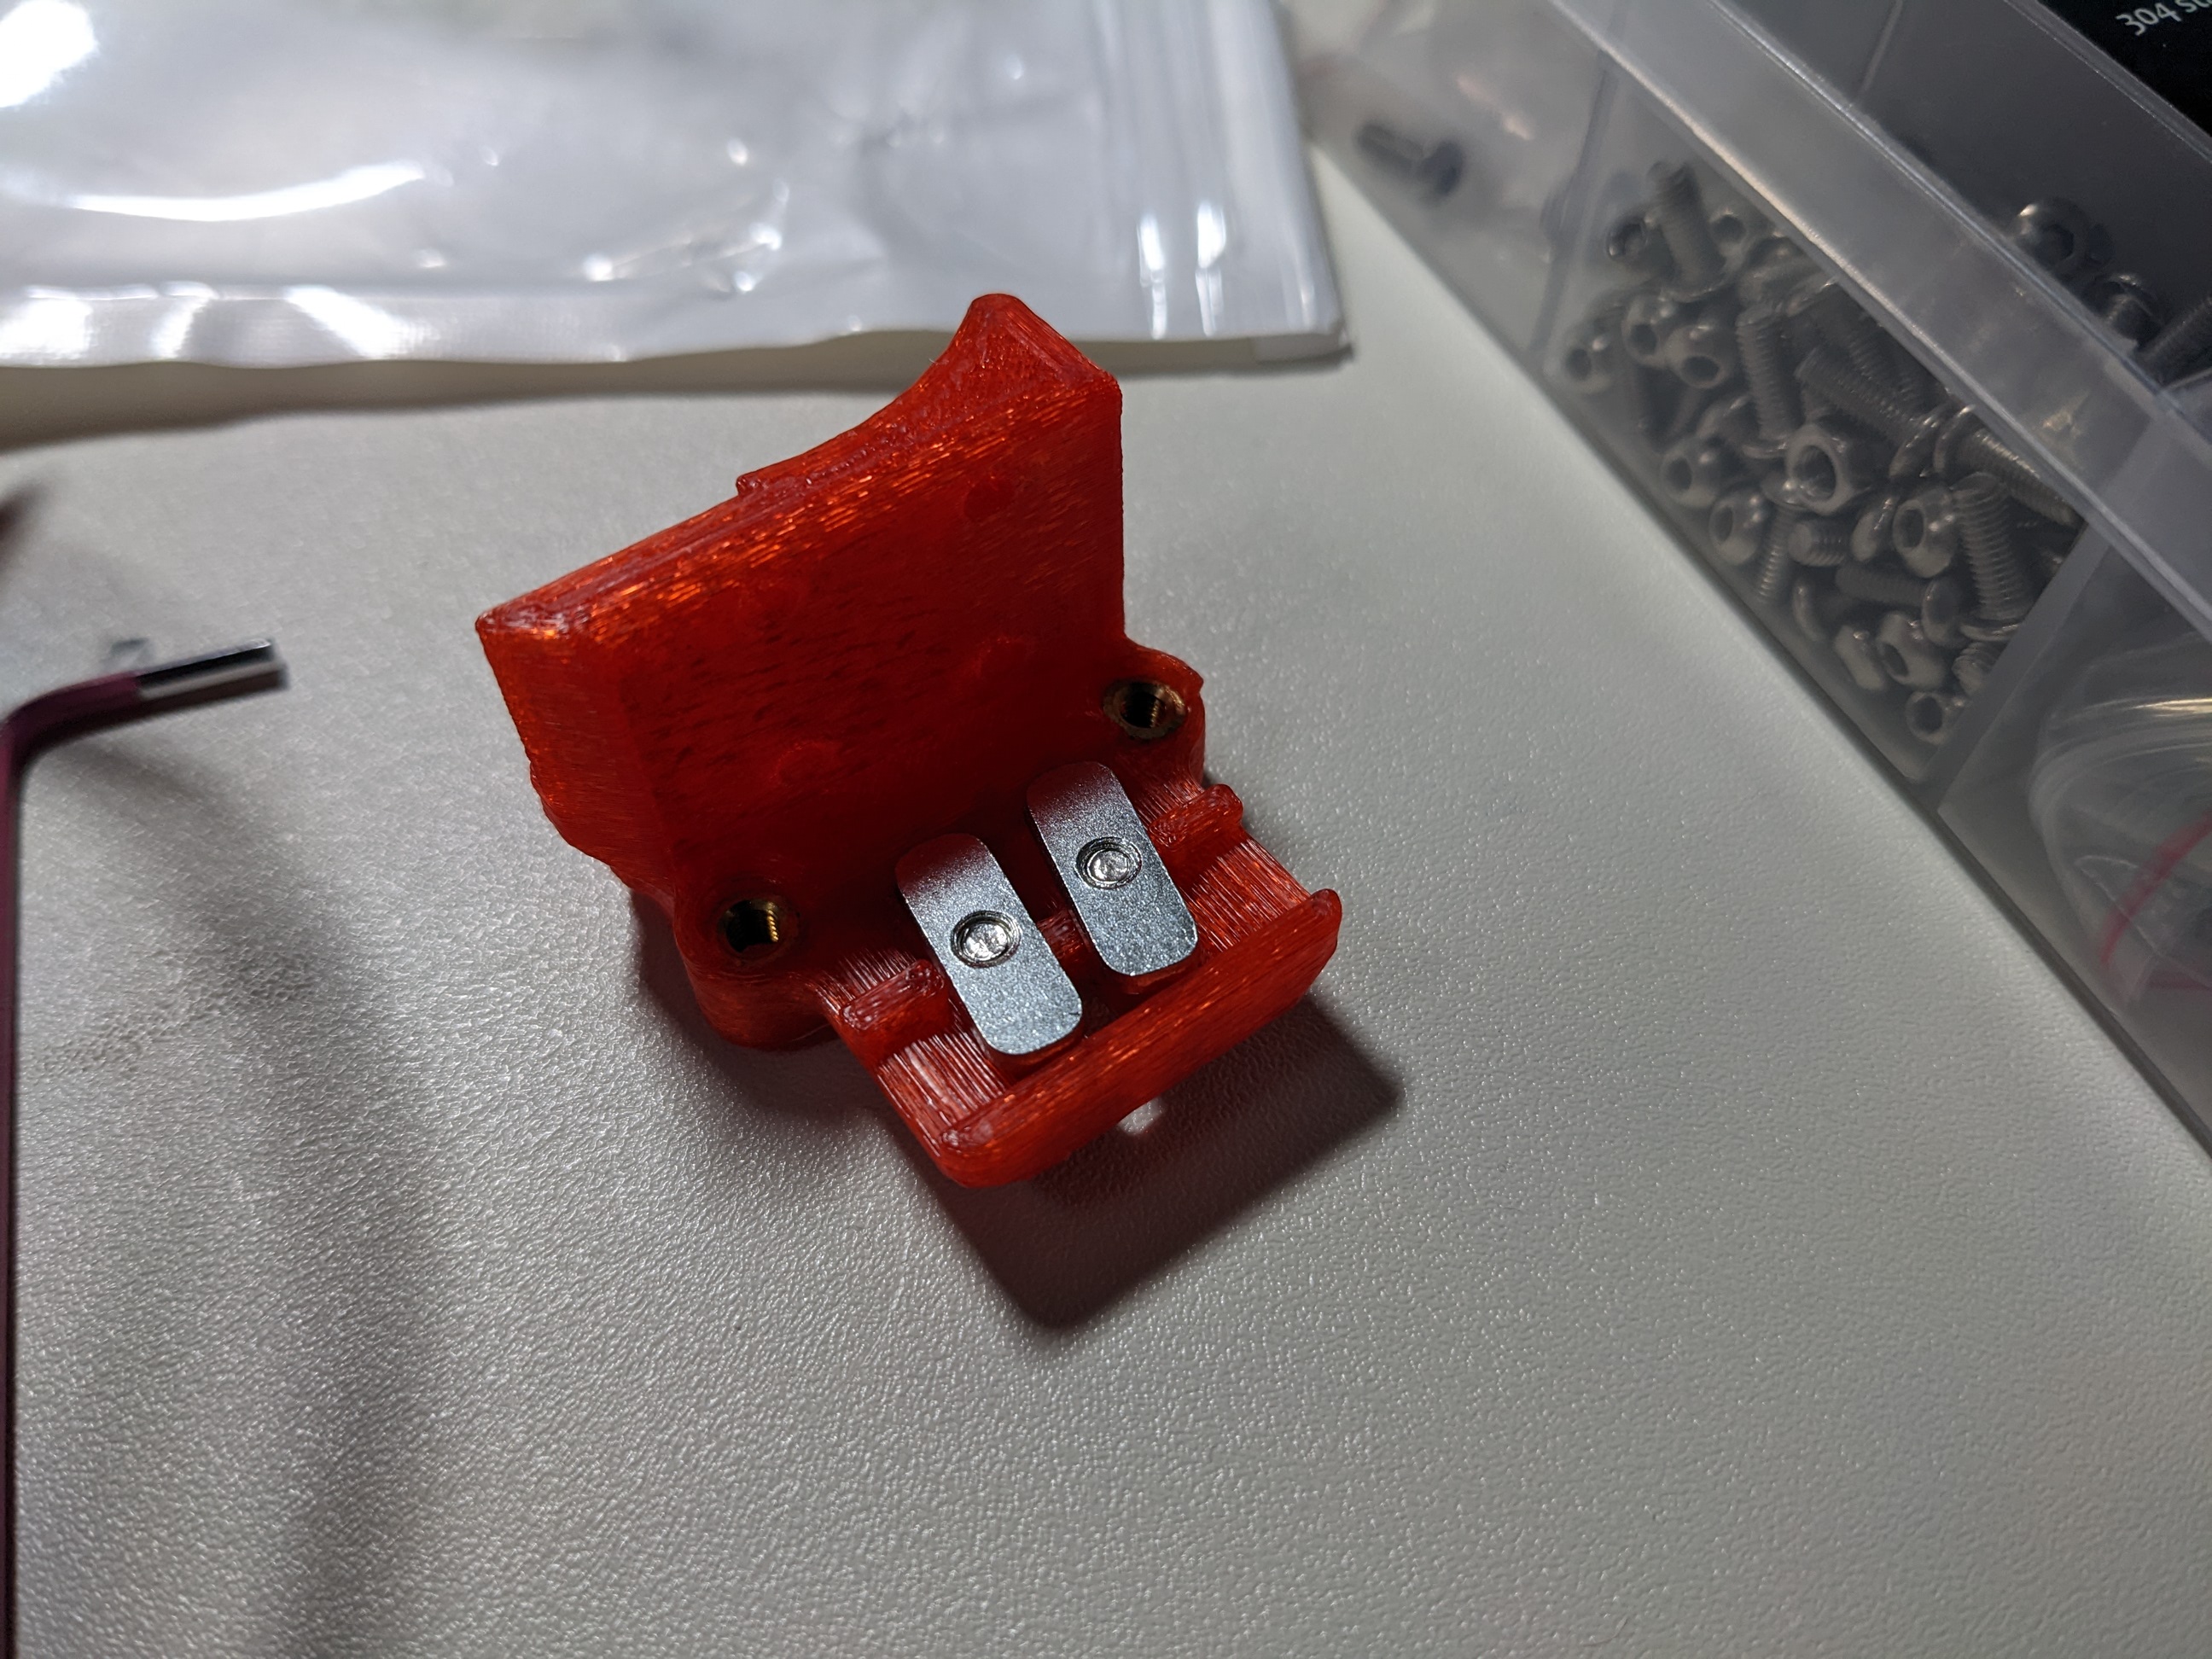
After routing a belt through the printer, I found it essential to cut the belt long to get it through the hotend mount on the gantry. The hotend mount is another 3D printed part with two slots through which the ends of the two belts can be pulled though. To secure them, to small T-nuts -- they look like little flat metal bars with a threaded hole in the middle --are used to secure the belts against the mount.
While I found it a little fiddly, I did mange to get the bolts through the mount without much effort. The problem was the T-nuts. Getting them to seat with the bolts was extraordinarily difficult. One of my T-nuts refused seat properly and constantly cross threaded. The problem is that the pressure on the T-nut isn't equal on either lateral side, as only one side actually has a belt going under it. This encouraged the T-nut to sit crooked to the bolt. With some opposing finger pressure and patience, one could make it work.


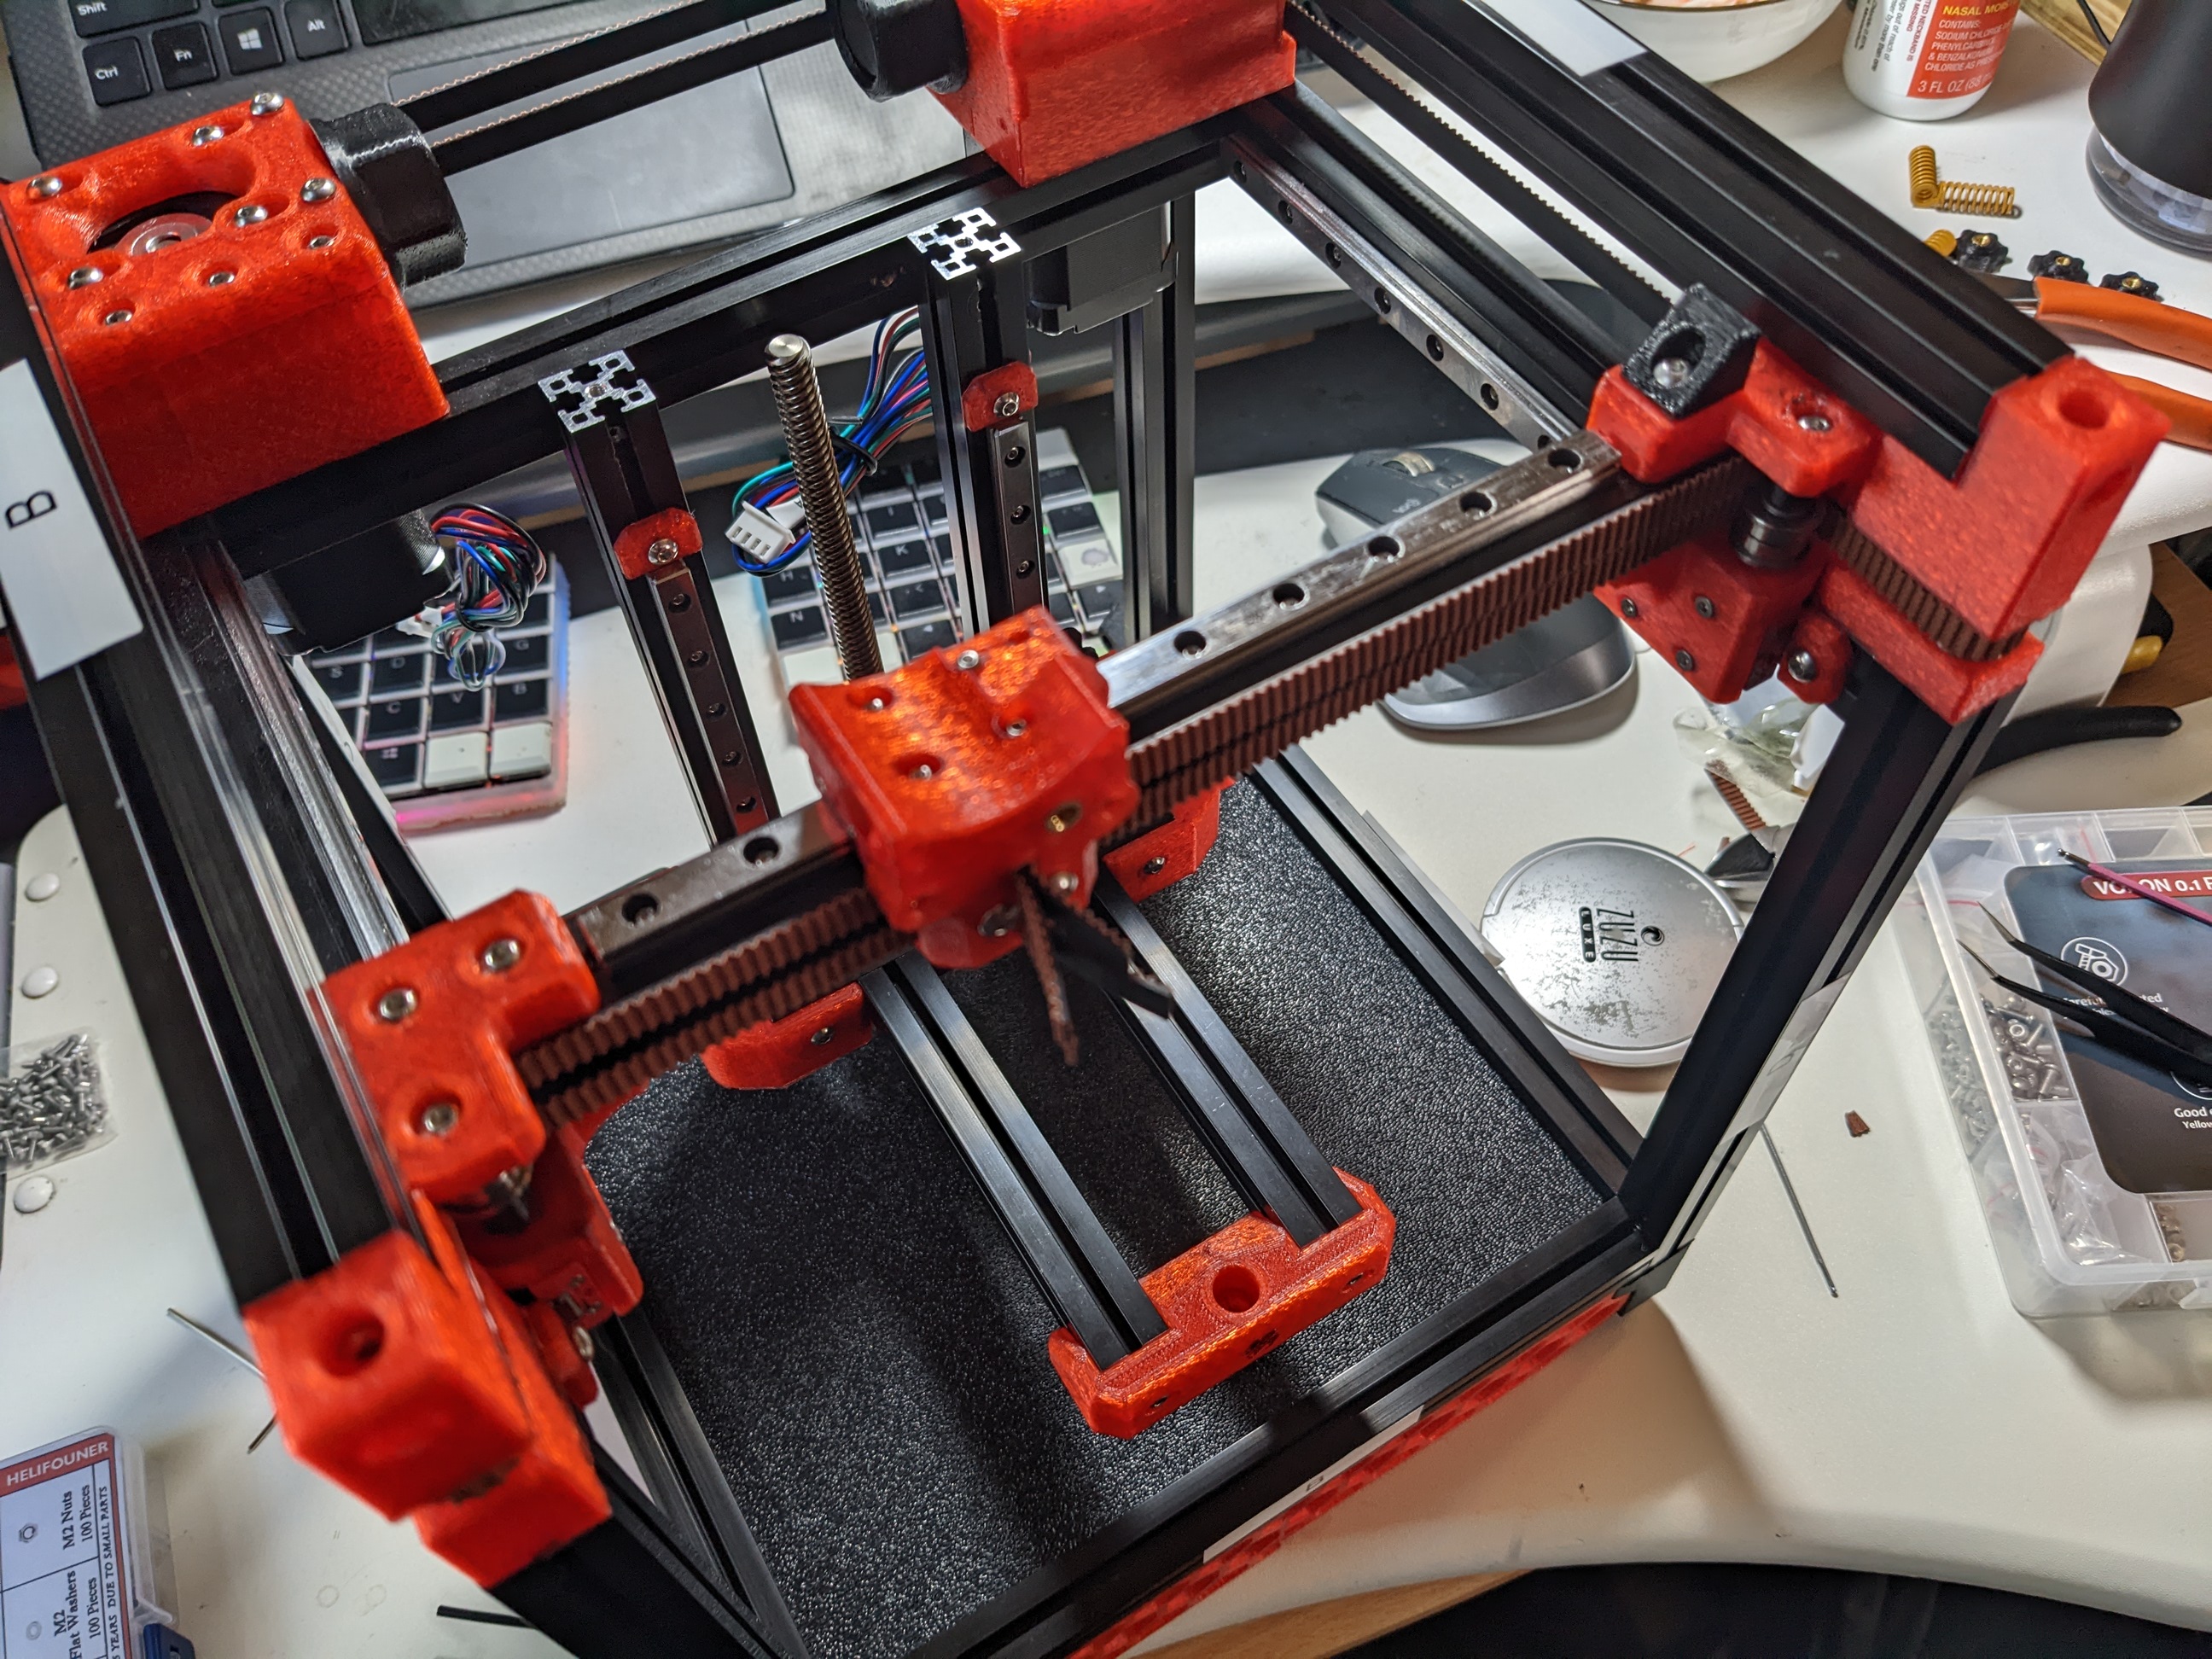
What was more frustrating was discovering I has missed an entire page on the assembly manual early in the build. This page takes place before installing the bed frame on the printer. Two threaded inserts are installed and a mountpoint for a drag chain is bolted in. I completely missed this step, and fixing it required nearly taking apart the entire printer.
This was my mistake as I had not gone back to review all of the previous steps were completed as I acquired more parts for the build. If I was building this from a kit, perhaps I wouldn't have missed it. Either way, I removed the back plate, the bed, and finally the bed frame to get at the nearly inaccessible region necessary to mount the drag chain.
I kinda wish that Voron Design would have used a printed drag chain, given my next discovery. The way the drag chain looped around in such as way that the "bottom" -- the side part which bolts to the printer -- is folded over on itself. The drag chain I bought has locking pins in it which prevented it from rotating in this direction. Had the chain been fully printed, it could have been printed in-situ with the bed frame, removing the need for the critical mounting step and me disassembling the printer. This is to say nothing about modding the chain.
Still, it got done.
Today might not have much Voron building at all in it. There's some errands to run which will likely take up my entire afternoon and most of my energy. Not every day has to be a build day, however.
I'm also concerned about what the Voron means for my other not-quite completed machines, the CNC and Laser cutter. Due to the chip shortage, it's not easy to get a Single Board Computer to run the control interface necessary for these machines to run. I was planning on borrowing the Pi 3 from them to run the Voron. At another time, this would make sense as the Voron would be happy with a 3, whereas the CNC and Laser machines really need something like a Pi 4. The only Pi 4s I have are in TCHeRI, my custom computer rack. So I'm unsure if I'll get to those machines soon, or if I'll have to do something like swap out a Pi as needed.


